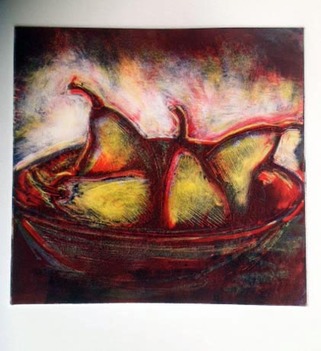
Final preparations are being made for the Maldon 3 day Printmaking Workshop on
"The Introduction to Monotype/Mono print, Dry point & Collagraph"
on the 22nd - 24th March 2014.
Day one - Introduction to Collagraph & creation of a small Collagraph plate.
Day two - Introduction to Drypoint and the production of a small Drypoint plate and introduction to Monotypes/Mono prints and how they can be combined with Drypoint.
Day three - A frenzied printing day printing pre-prepared Collagraph plate, Drypoint plate and Monotype plates.
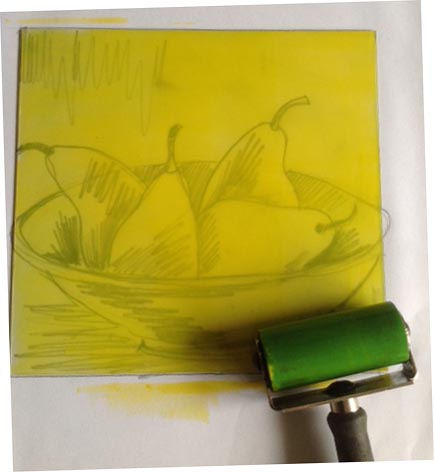
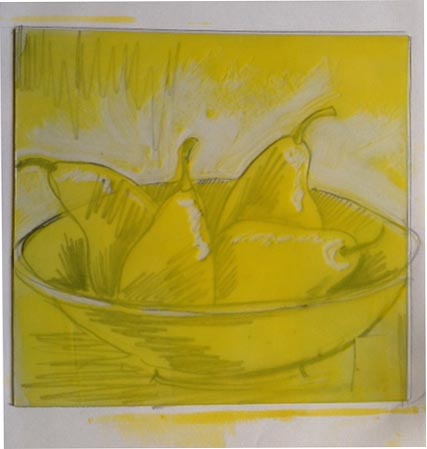
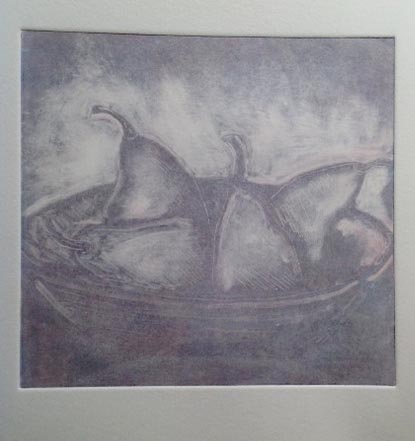
This Monotype process is described below.
Akua Intaglio Inks were used on Fabriano Rosapina paper.
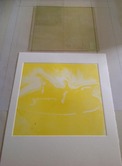
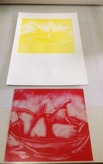
| 1. The clear plastic plate is rolled with yellow over the drawing. | 2. The yellow ink is wiped away from areas of the plate using the drawing underneath as your guide. | 3. The plate is printed through the press onto dampened paper. | 4. A red inked plate is prepared the same way over the drawing, taking into consideration the yellow already printed on the same printing paper. |
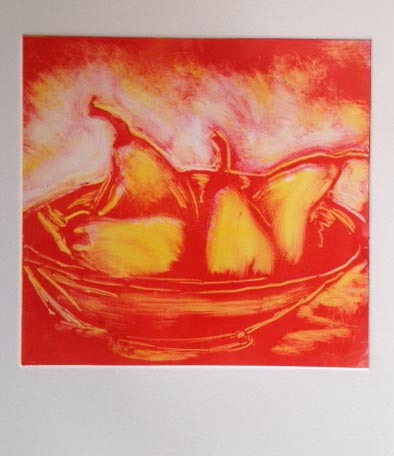
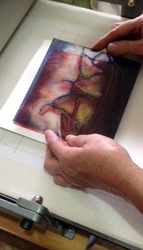
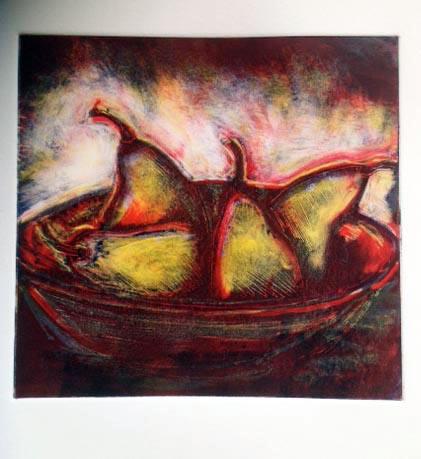
| 5. Above is the result of the red printed over the yellow stage. | 6. The final blue/black plate is prepared, taking into consideration the red yellow areas of the print. | 7. The blue/black inked plate is carefully placed over the red yellow inked print, matching up the edges & image. | 8. The final Image is created. | 9. Another print is taken of the ink residue image still on the plate. It is called a Ghost Print. |

 RSS Feed