• Home
  • Collagraphs
  • Lino Cuts
  • Intaglio
  • Monotype/Monoprints
  • Drawings
  • Books & Boxes
  • Contact & Links
  • Blog
  Home

Sandpaper Mezzotint Experiments

1/27/2014

3 Comments

 
Picture
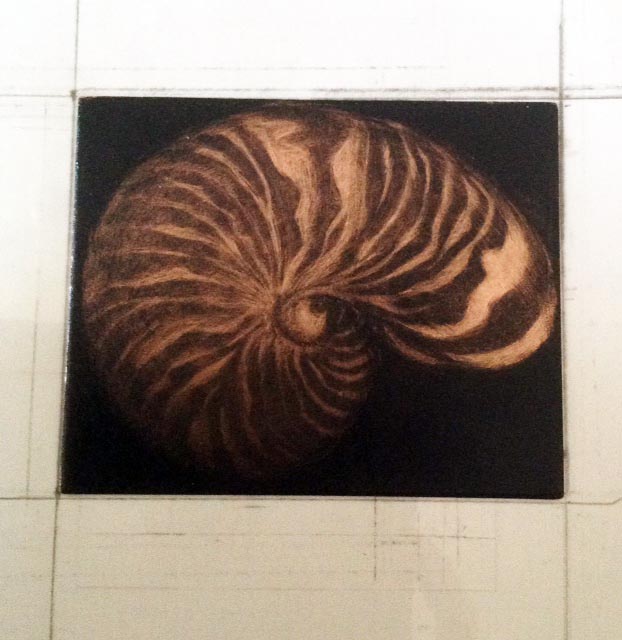
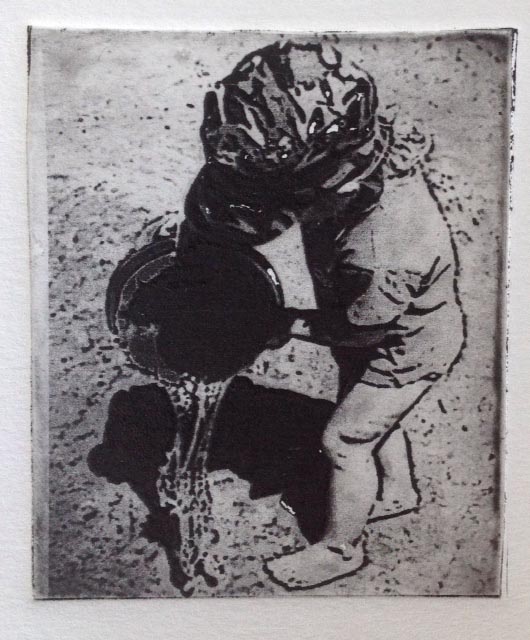
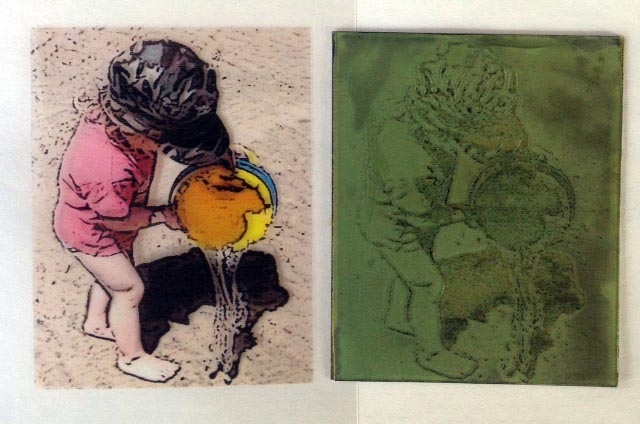
Above: The inked up copper plate before printing through the printing press
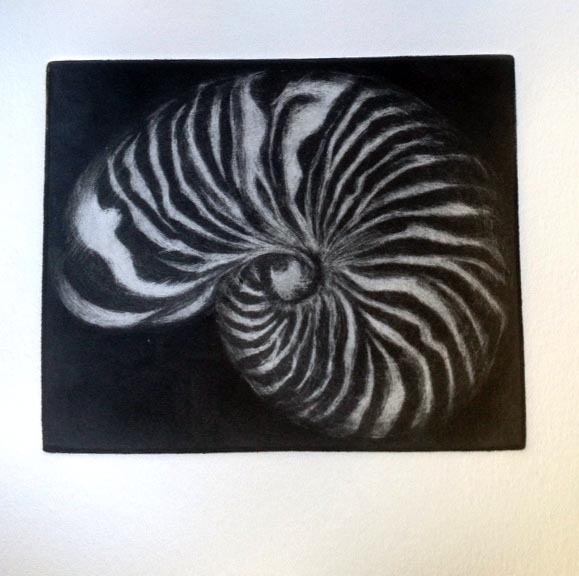
Picture
Above: the printed image
This type of Mezzotint was created by preparing a copper plate as follows... the copper plate edges were bevelled and the plate cleaned and degreased. Acrylic hard ground was poured onto the plate, step dried and hardened overnight.  400 grit "Wet & Dry" paper was placed over the copperplate, with the grit side in contact with the prepared hard ground surface. The press was set at a heavy pressure and the plate with the "Wet & Dry" paper grit in contact with the set hard ground surface was passed through the press about 10 times with the "Wet & Dry" paper being moved each pass through. The resulting surface was a very fine aquatint pitted surface. The plate was then placed in a Ferric etch solution for about 40 mins. The plate was then ready to scrape & burnish to produce a Mezzotint image.

* After seeing Graeme Peebles beautiful and technically perfect Mezzotints at Wisharts gallery in Port Fairy I realize I have a long way to go but the experimental alternate method was worth trying.


Picture
Picture
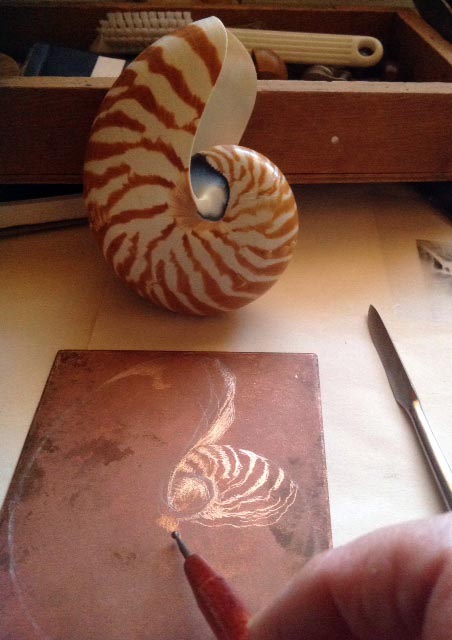
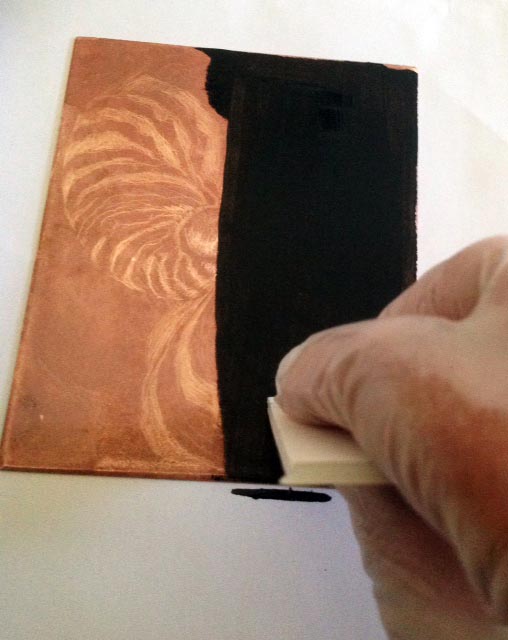
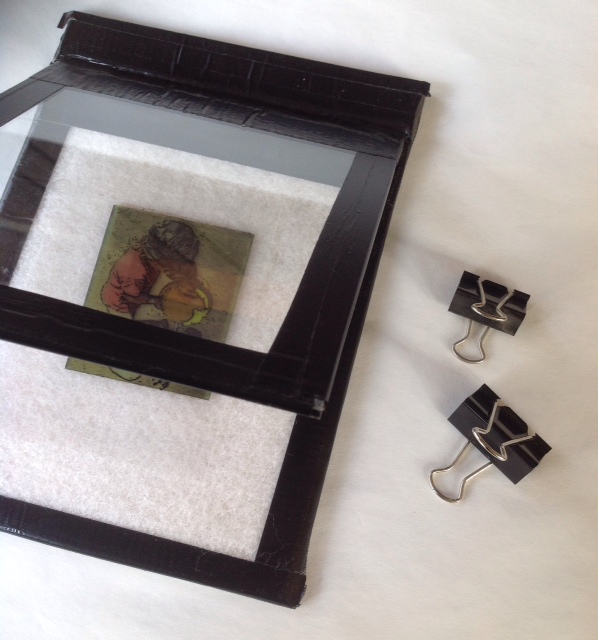
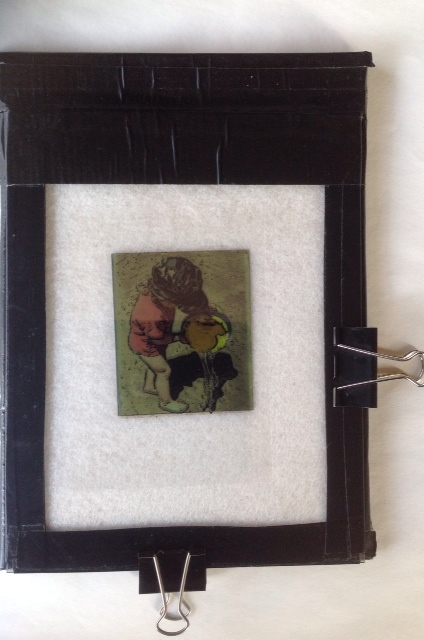
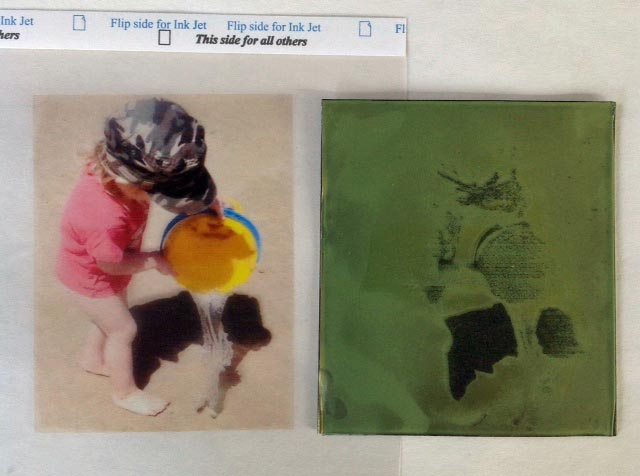
              Above: Images of the scraping and burnishing with tools                                                       Above: the initial inking up process of the plate.
3 Comments

Solar Plate Etching Experiments

1/17/2014

0 Comments

 
Picture
Making the most of maximum solar UV rays present through a terrible 4 day heatwave of temperatures reaching the mid 40's, I decided to use my off cuts of Solar plate, left over from a workshop probably 8 years ago.
I used a photograph I took with my I Pad of a little girl at the beach with her bucket and water.
Equipment I used....


  • a homemade exposure unit and Bull Dog clips
  • "Nobo " transparency film for laser or inkjet printers
  • UV from the sun
  • an offcut of solar plate
  • a computer & printer
  • The Photoshop elements program
  • a soft brush and cold running water
  • printing ink oil based black
  • Fabriano Rosaspina printing paper
  • my printing press

Picture
Picture
Picture
Picture
This series of photos shows the process of exposing a transparency image through a homemade exposure unit. The transparency and unexposed solar plate are place in position under glass and held in place with bulldog clips.
This was then placed in the sun for 1 minute, unclipped and the exposed plate placed under cold running water and brushed in a circular motion to reveal the image.
LHS... is an image of the photo manipulated through the Photoshop program, through the edges filter then onto transparent film, this gave linear qualities to the image and the image below was produced by the straight colour photo onto transparency then exposed to UV which gives more tonal qualities.
The plates were then inked up and printed through the press, the same as you would with intaglio etched plate.


I have yet to explore transparency overlays and collaged elements.


Picture
Picture
0 Comments

    Author

    My name is Val McCann and I am a printmaker and I would like to share some of the work I am developing in this blog. I would love your feedback, advice & contributions. I conduct workshops on printmaking with my portable press.

    Archives

    October 2014
    July 2014
    May 2014
    April 2014
    March 2014
    February 2014
    January 2014
    December 2013
    November 2013
    September 2013
    August 2013
    July 2013
    June 2013
    May 2013
    April 2013

    Categories

    All

    RSS Feed


Powered by Create your own unique website with customizable templates.