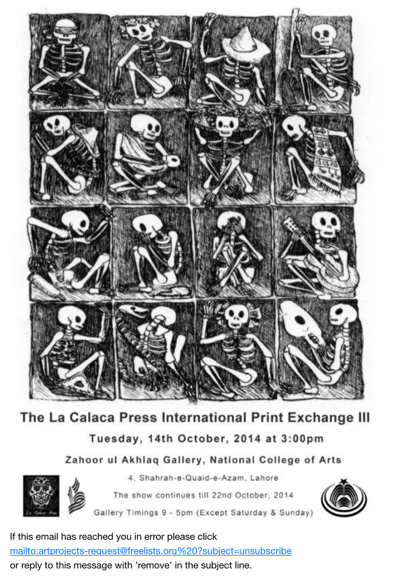
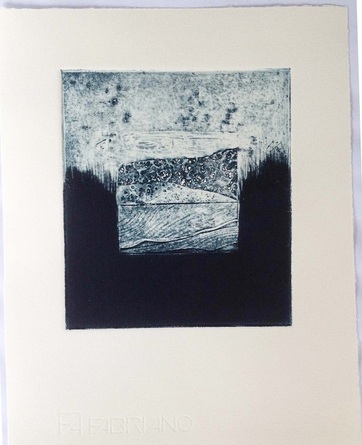
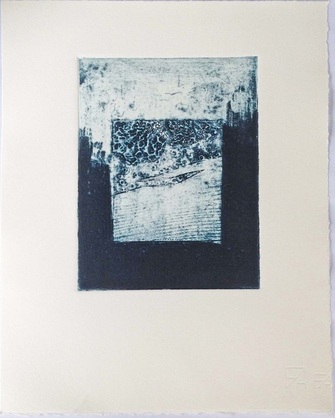
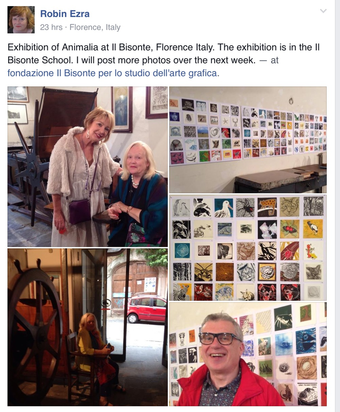
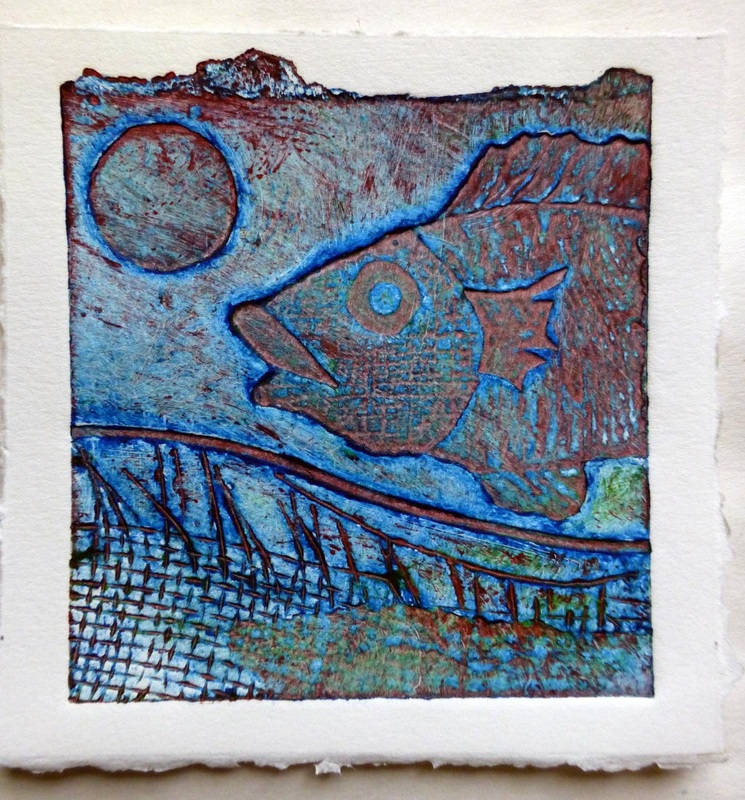
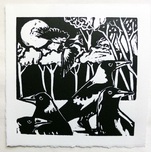
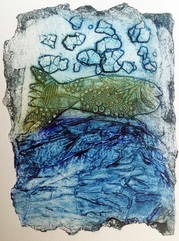
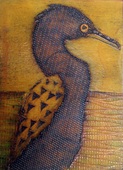
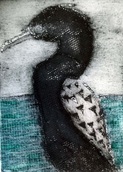
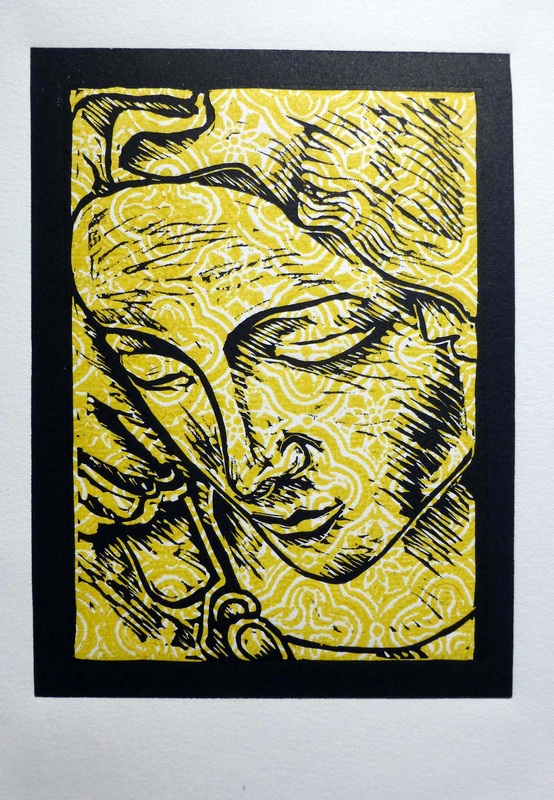
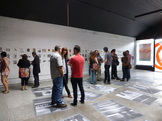
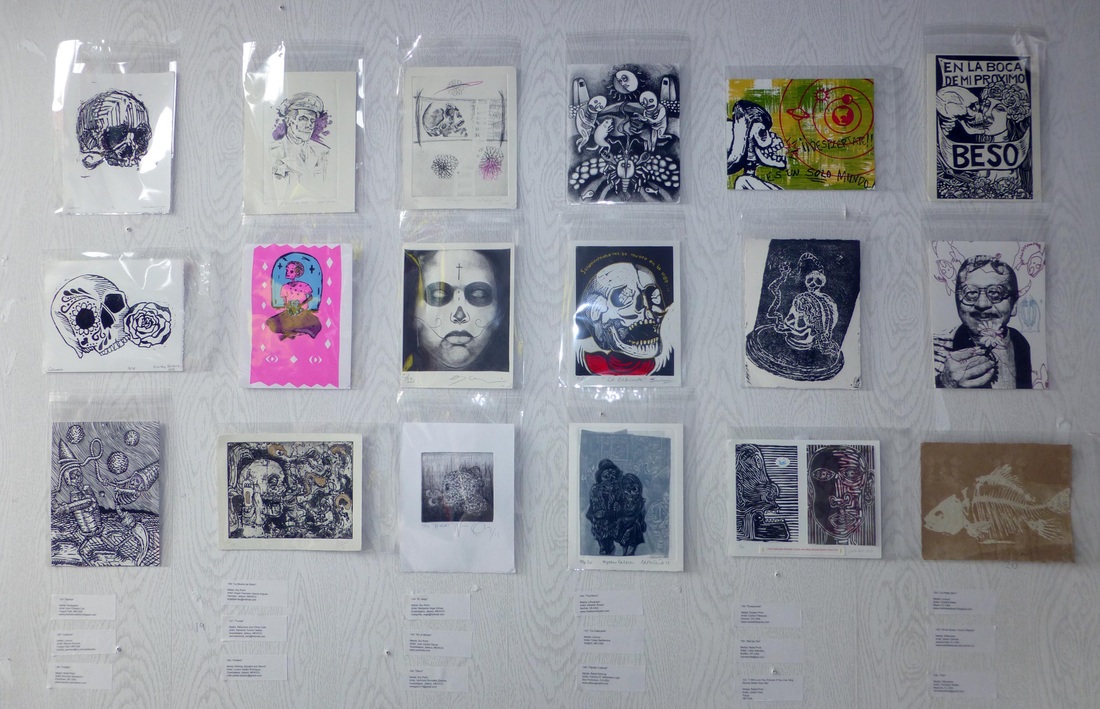
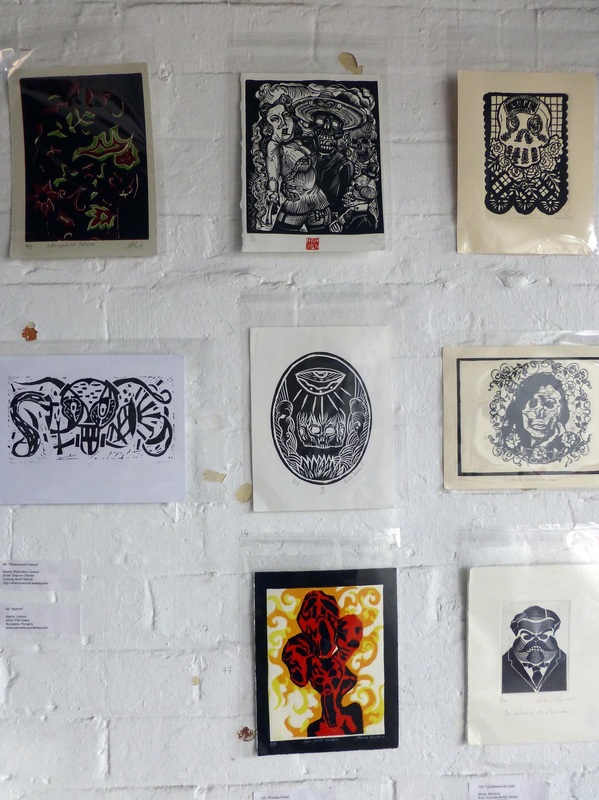
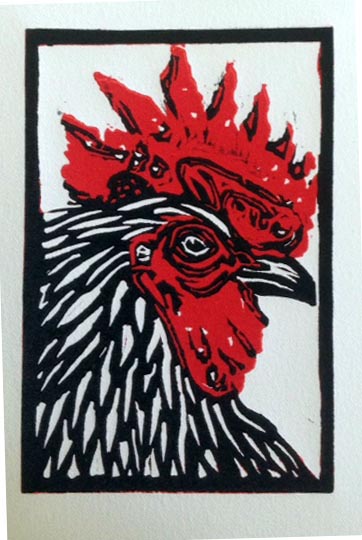
| I have two Collagraph prints in this exhibition. The two from my previous Blog Entry on the Estuary theme. | Two of my prints...A Lino Cut and a Collagraph Print will be in this collection of Animalia Prints now archived in the National Gallery in Canberra. | A hand coloured Lino cut print is continuing to travel with this exhibition collection. It has travelled from Estonia and is now on Exhibition in Lahore |
0 Comments
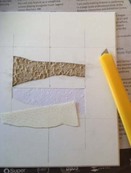
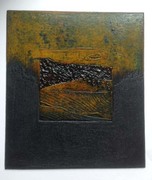
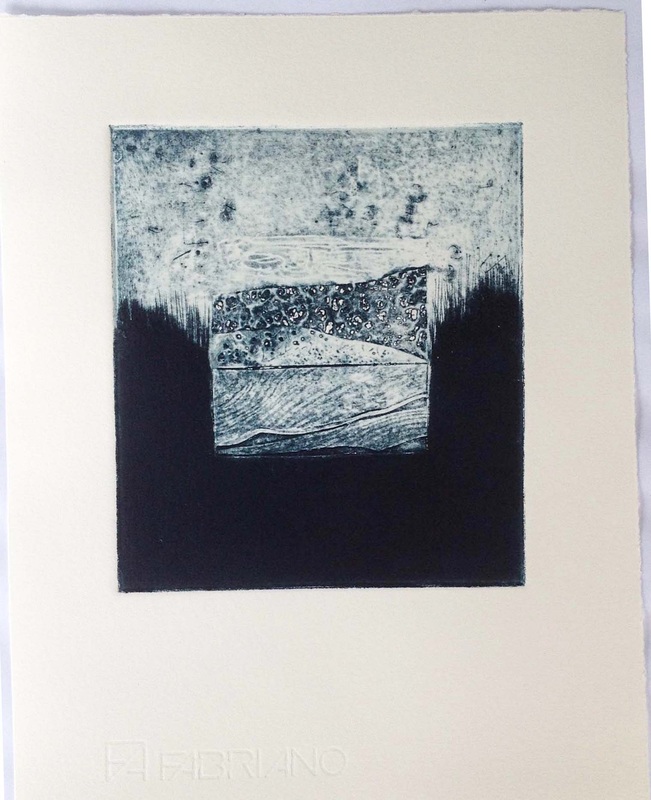
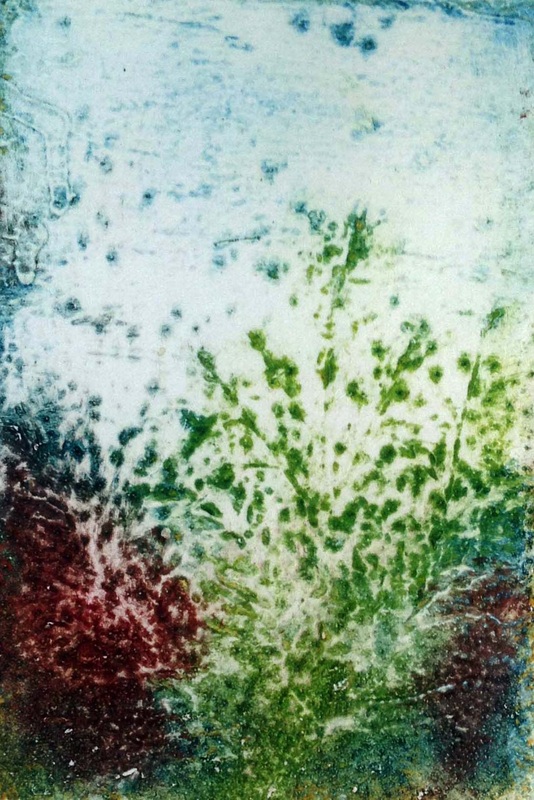
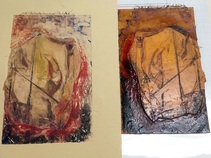
The Blocks - construction, enhanced, sealed and inkedThese new Collagraphs were inspired by my latest winter escape up as far as a place called Seventeen Seventy near Hervey Bay QLD. We stayed right on the Estuary in beautiful tropical vegetation surrounded by swarms of Blue Tiger Butterflies. My focus for these blocks was on the water's edge where the armies of Fiddler crabs play hide and seek in the estuary sand flats. I have a portrait schema not a wider landscape view as I like to zoom in on a landscape. My viewer is my Ipad rectangle. The textured papers were inset into the cut layers of the mount card and back home in my studio I applied Carborundum powder and sealed the blocks with layers of Shellac. I made marks on the card surface to replicate the little marks made by creatures and in particular birds made subtle by the light lapping of the fine layer of tidal ripples.
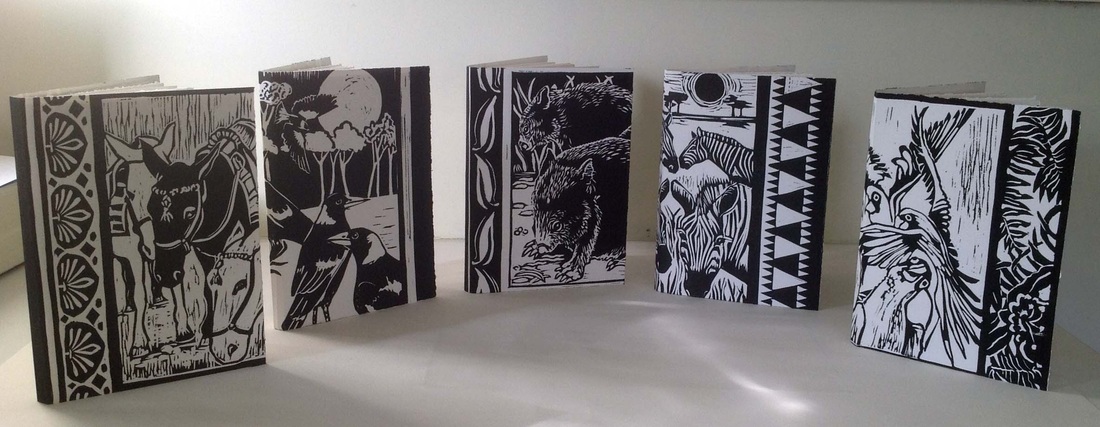
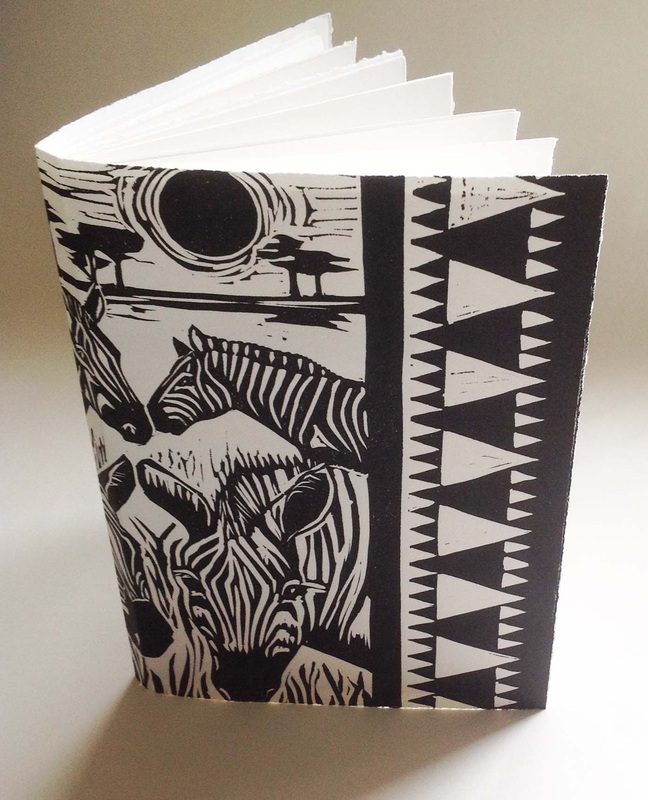
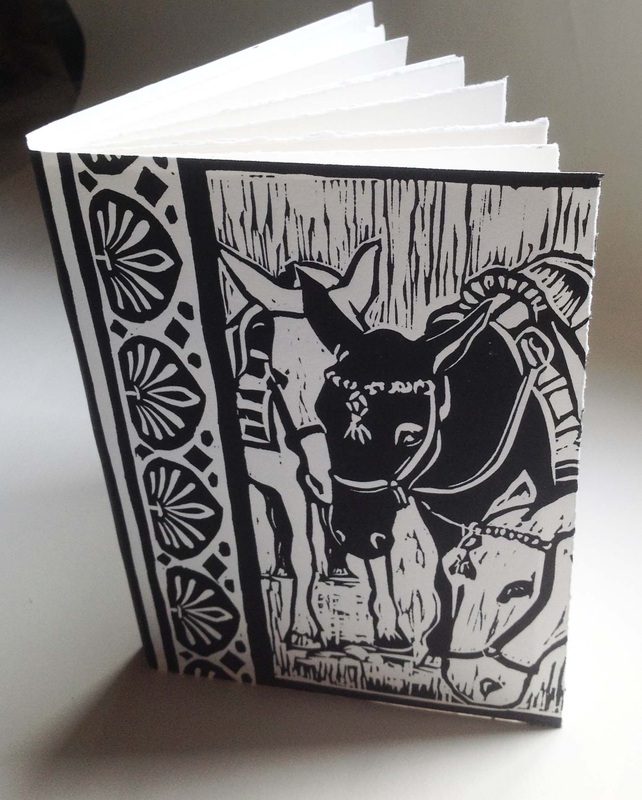
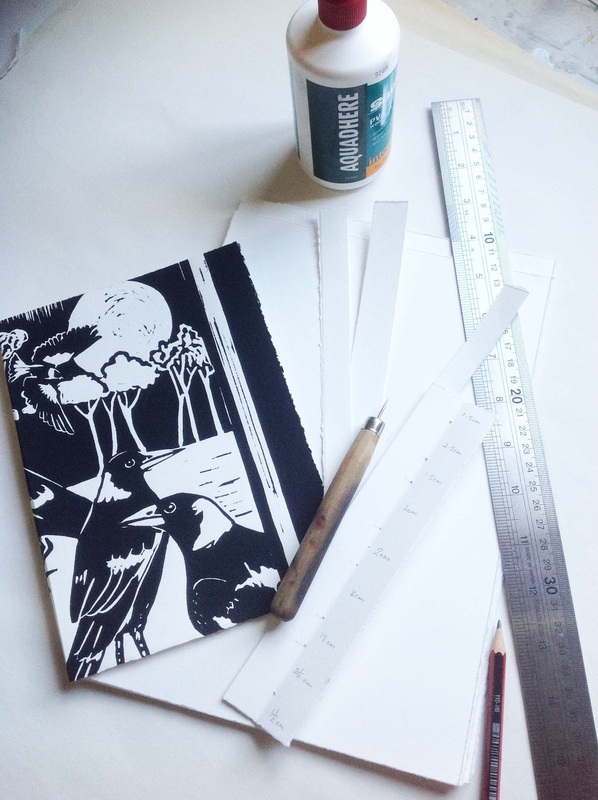
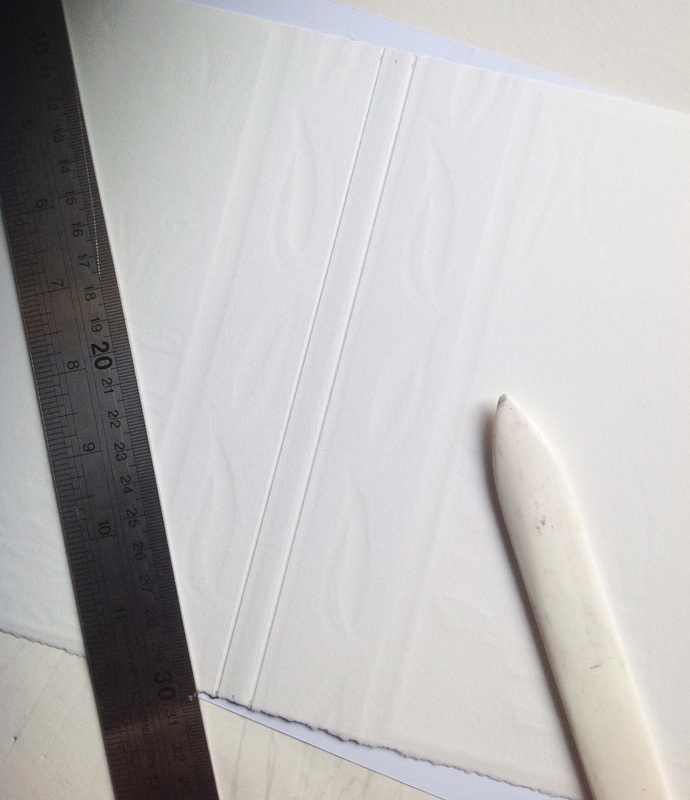
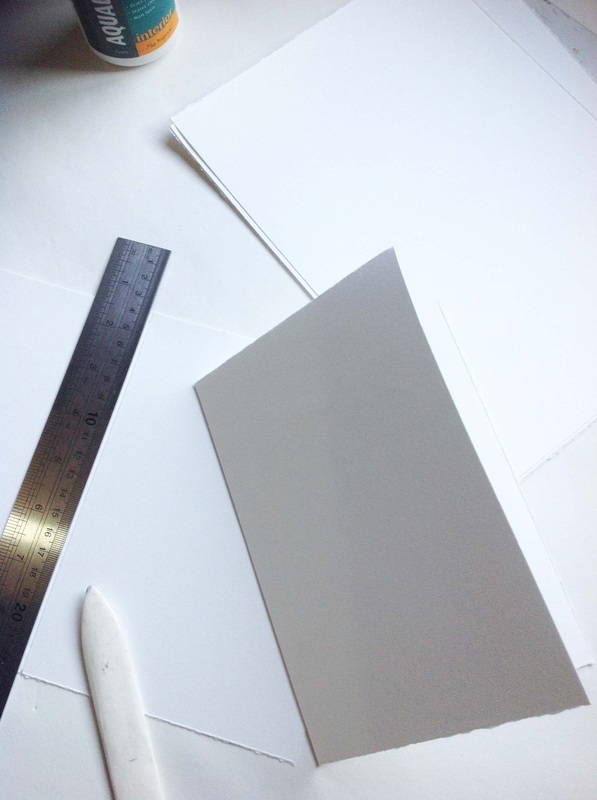
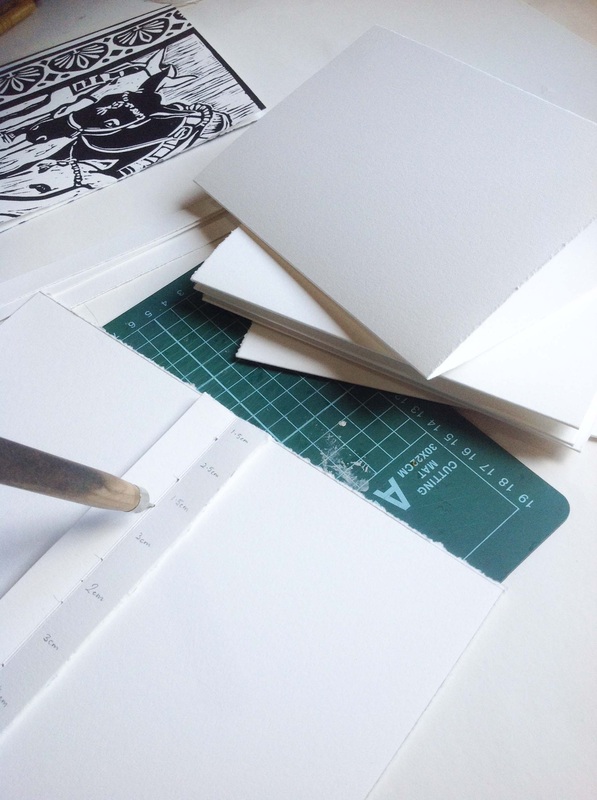
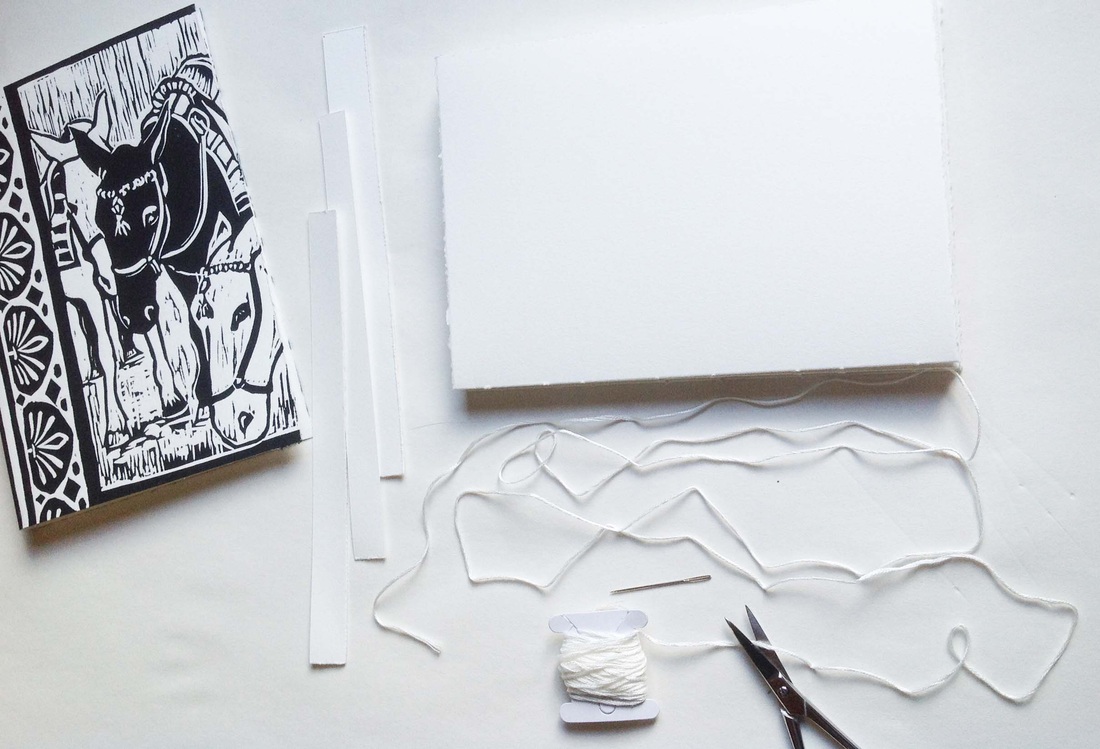
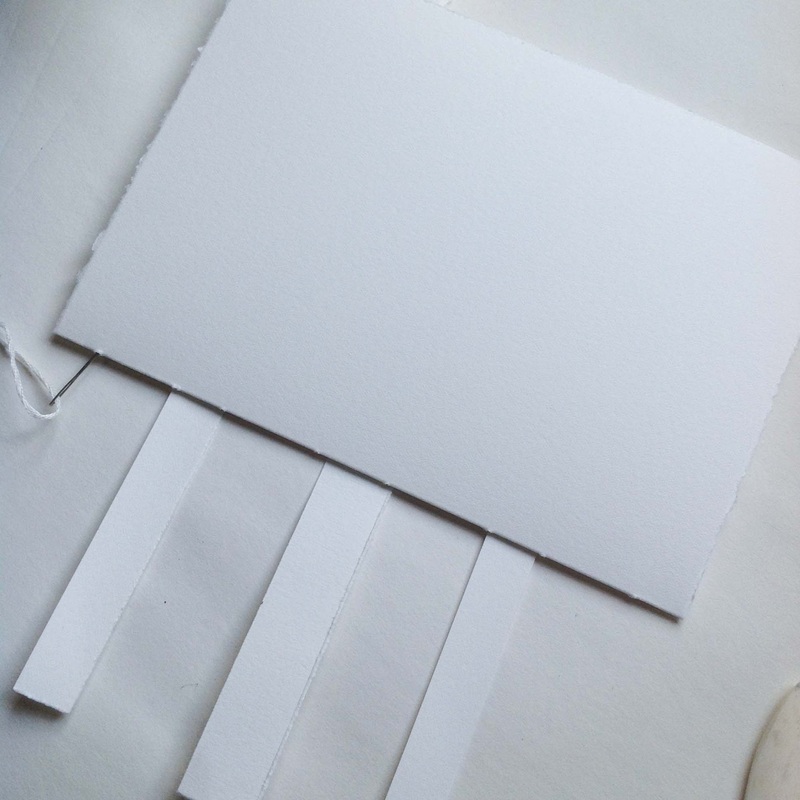
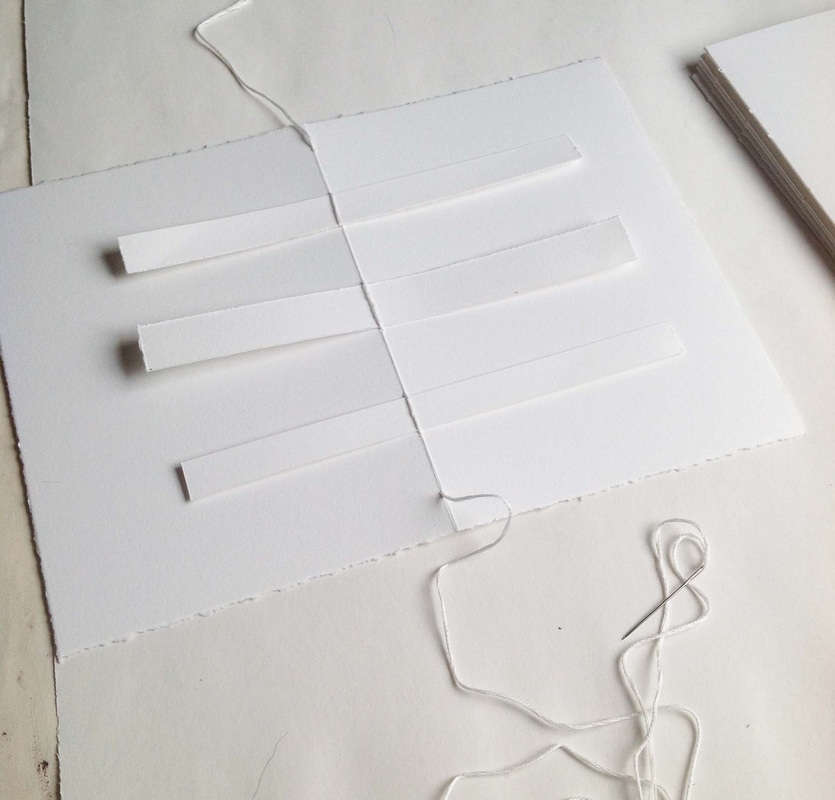
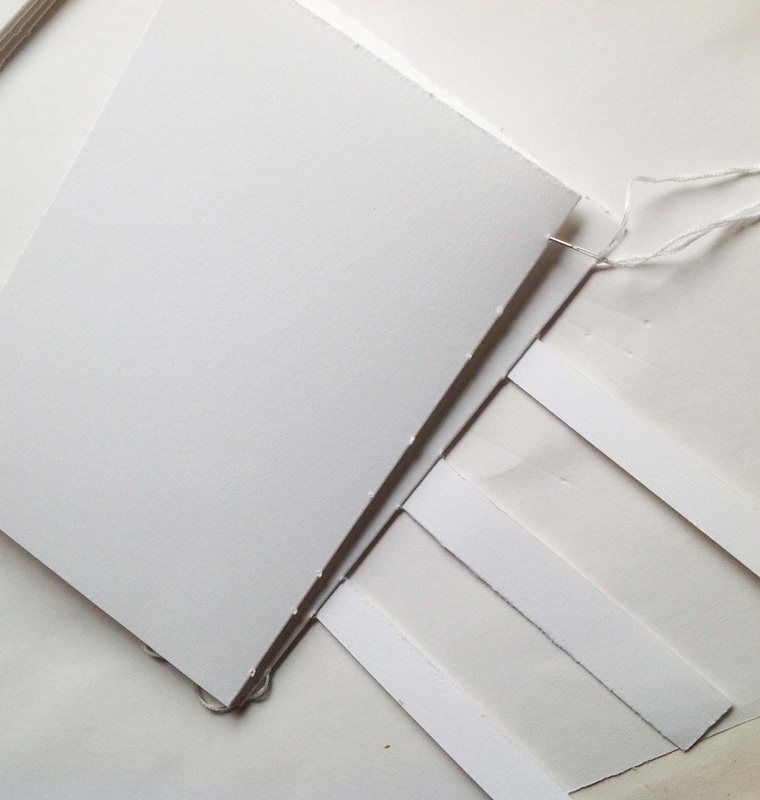
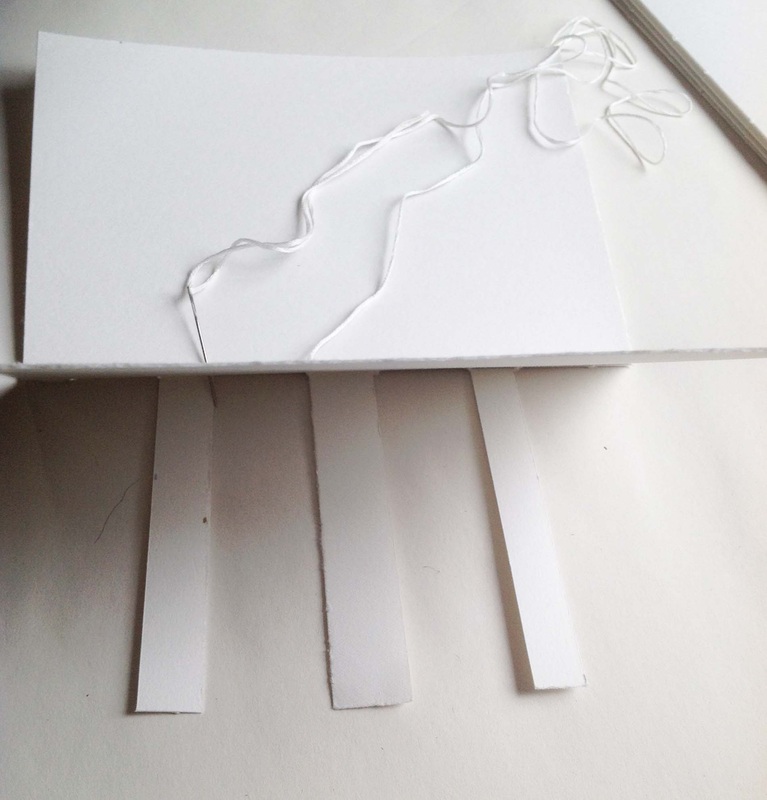
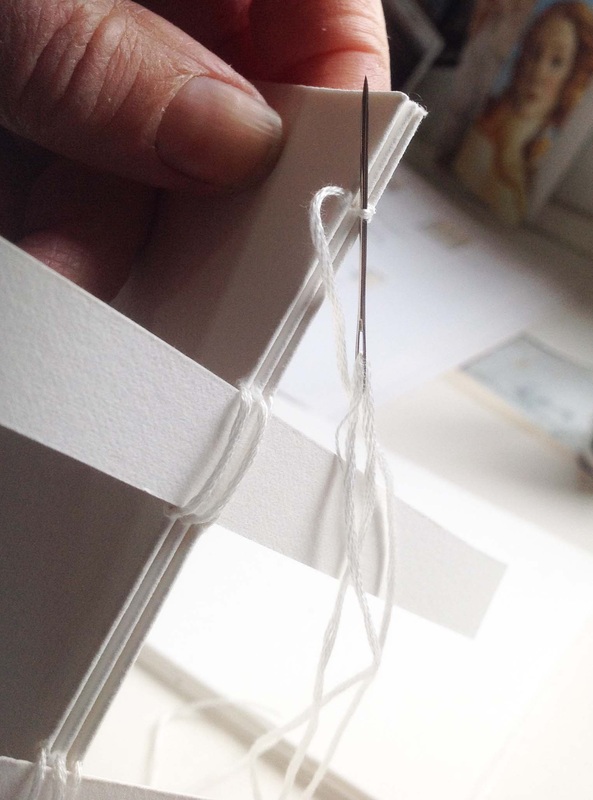
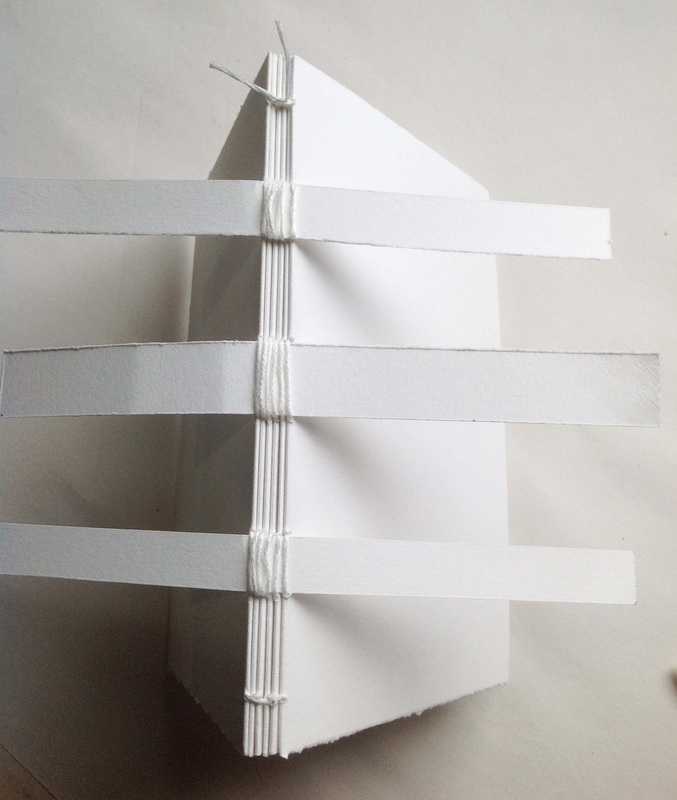
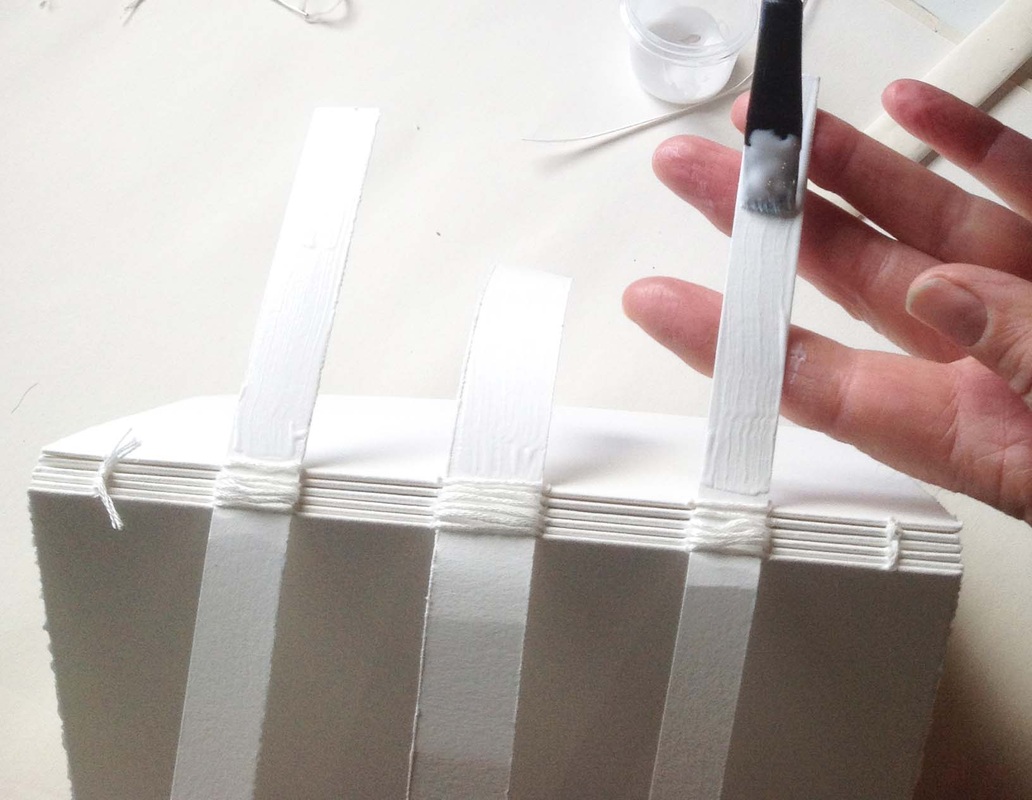
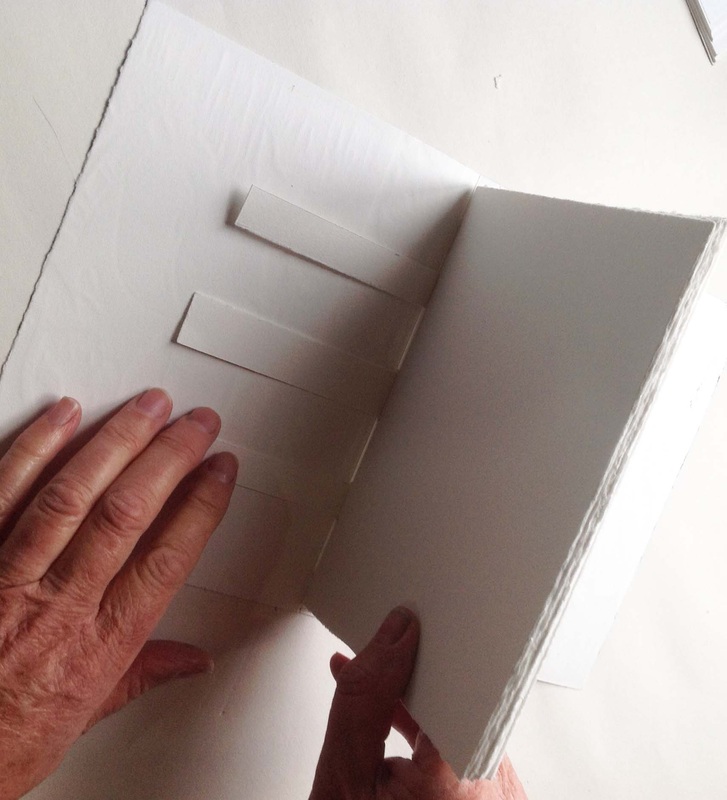
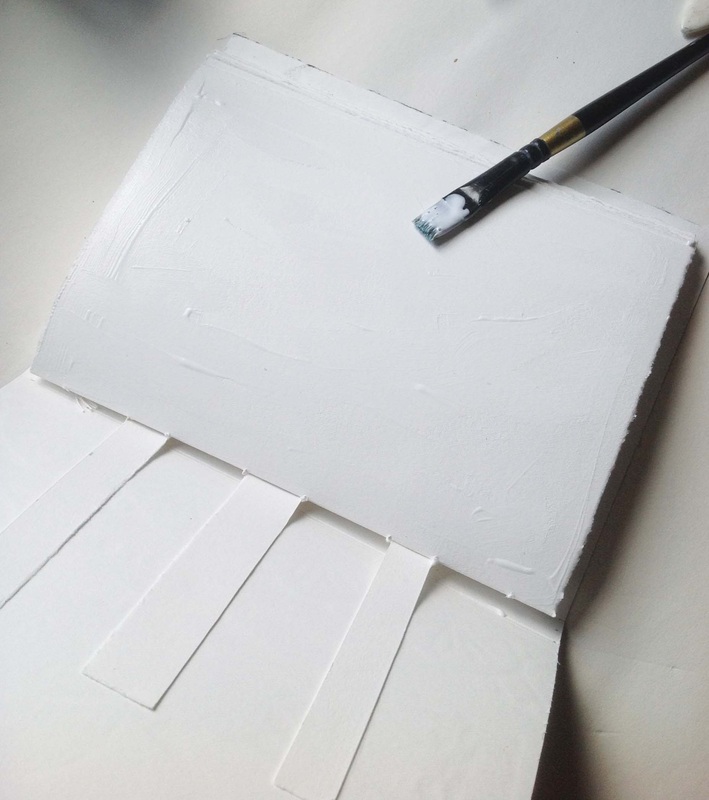
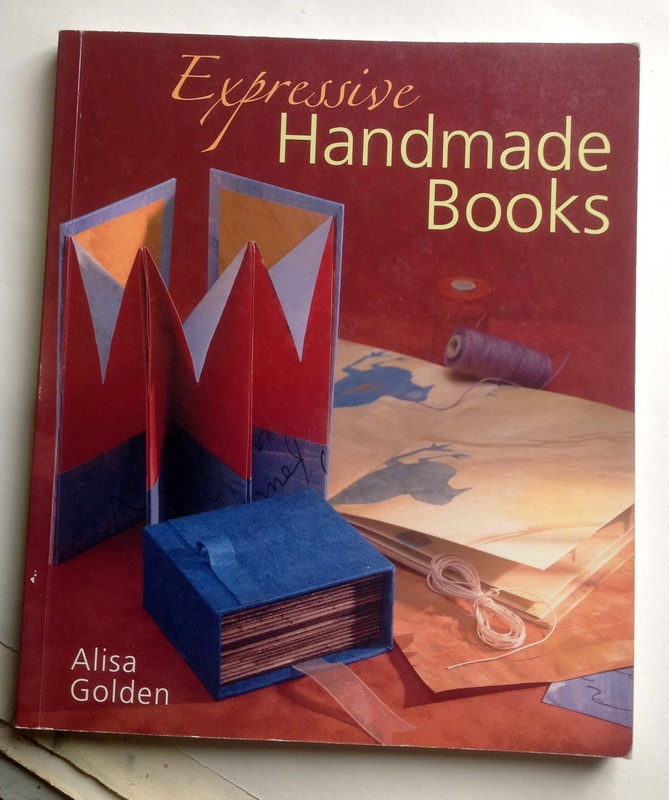
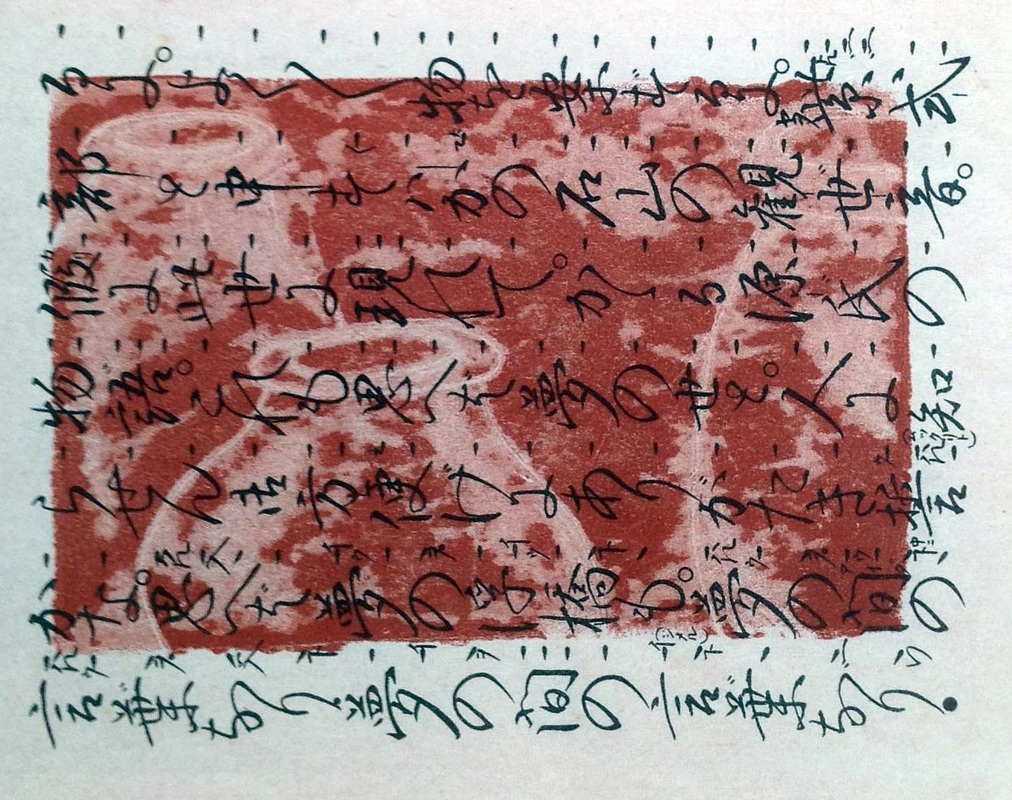
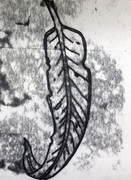
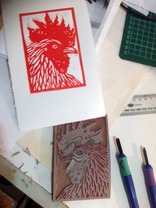
Materials needed: Lino Cut Print cover, Pva Glue, 3 paper strips, a hole piercer, a template for the holes, pencil needle & thread, ruler, book making bone implement and 6 sheets of good quality thicker paper, Fabriano is use here for both Lino cut print and blank pages . Firstly measure the middle of cover & with ruler and bone, make creases either side of the middle mark, where spine folds will form to accommodate the 6 folded sheets, fold paper sheets/leaves in half with bone crease. Use prepared hole template to pierce each sheet of folded paper ready for the stitching and assembling of the journal. Measure out thread 5 times the length of the Journal spine and place the strips of paper in place. Sew in and out using the strips. Stack each sheet of pierced, prepared paper and repeat the sewing format for all 6 folded sheets. At each end sew into the last thread loop to join the page stack. Each page is sewn in the prepared and measured holes with the strips of paper sewn in to create strength and link the pages. The strips are glued. The glued strips are attached to each side of the cover and the first & last pages are glued to the cover over the top of the strips. The Journal is then pressed under heavy weights. Above is the Expressive Handmade Books reference used as a resource.
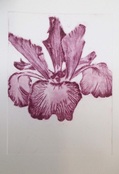
An Introduction to 3 Printmaking Methods - Collagraph, Dry Point & Monotype - 11 printmakers
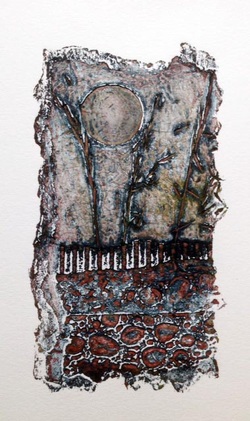 The Collagraph Printmaking process continues to interest me as a printmaker.
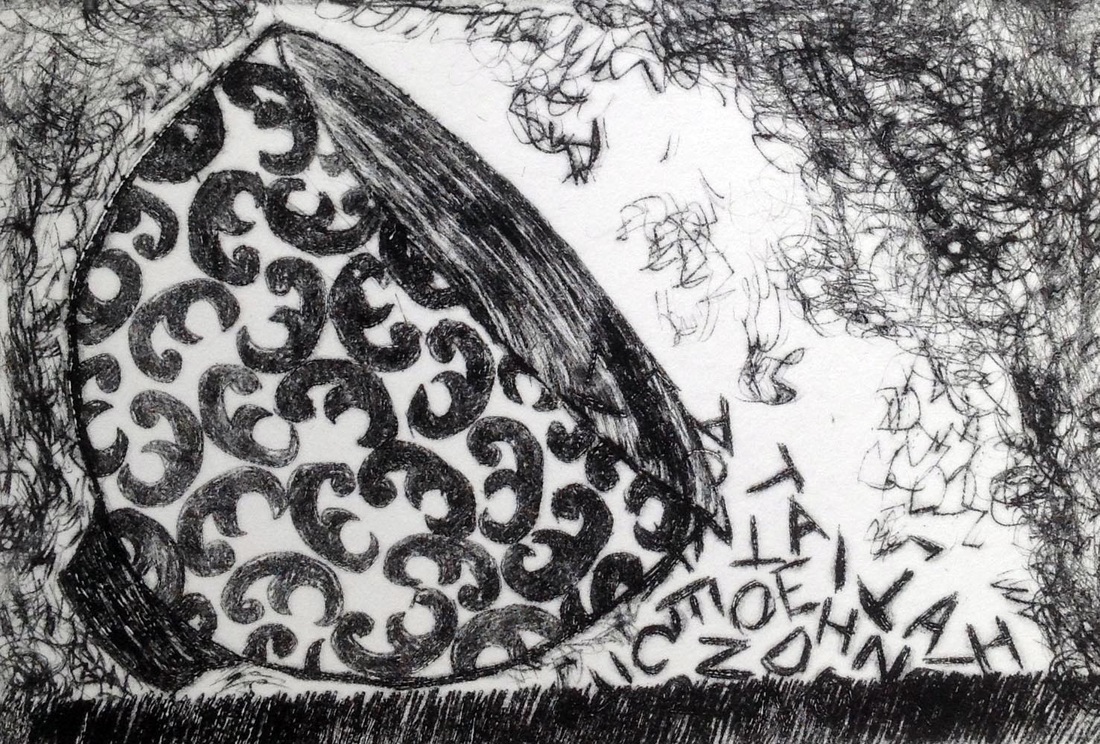
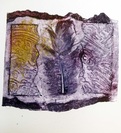
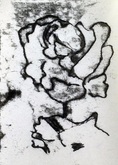
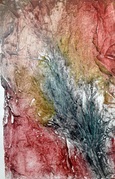
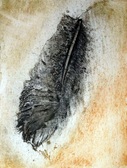
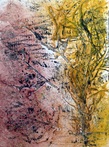
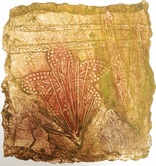
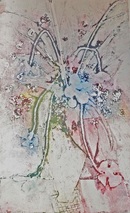
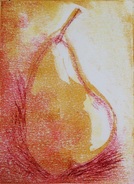
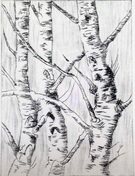
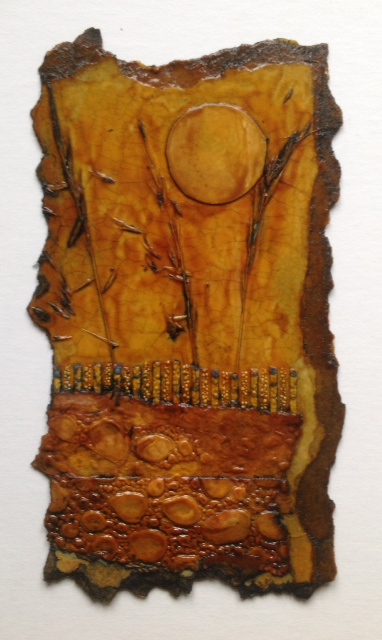
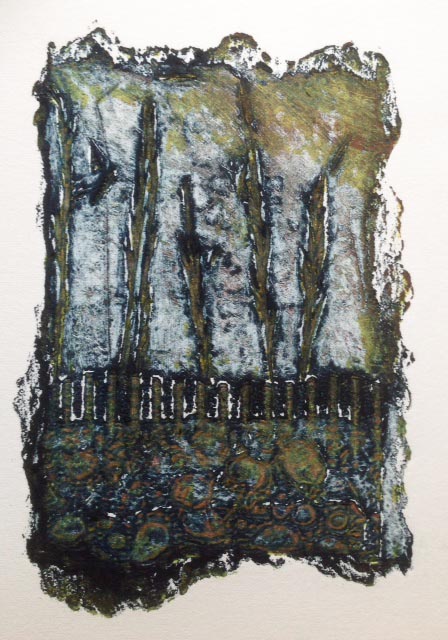
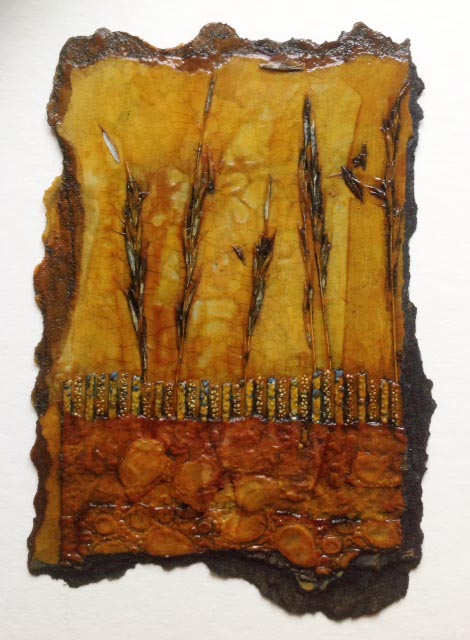
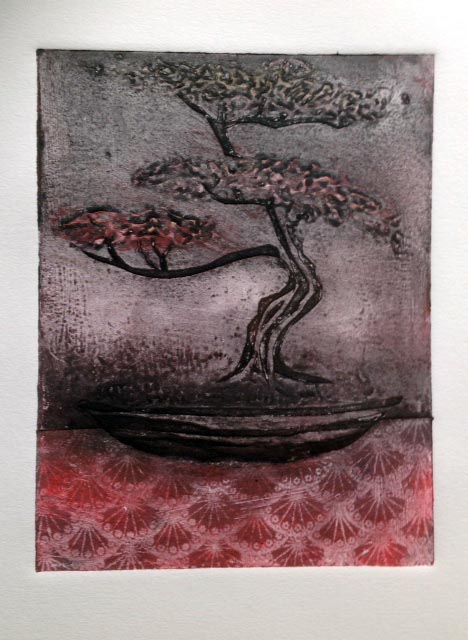
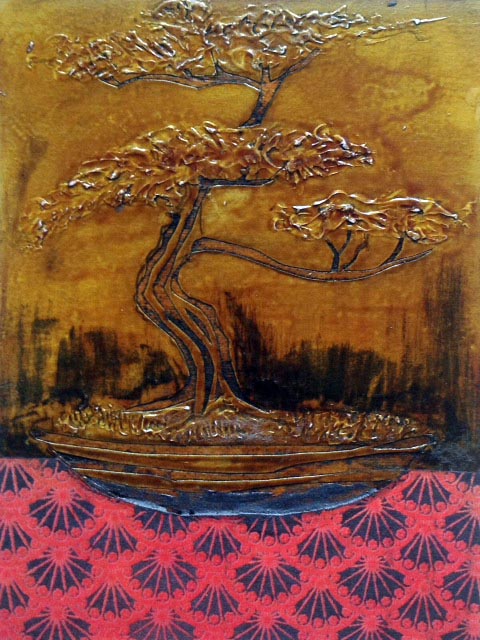
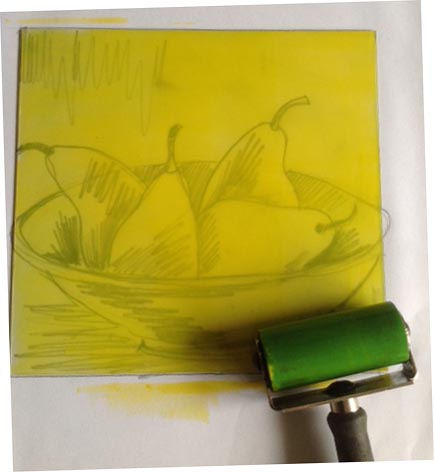
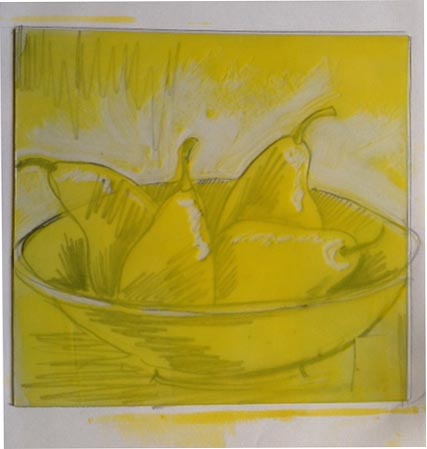
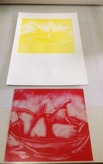
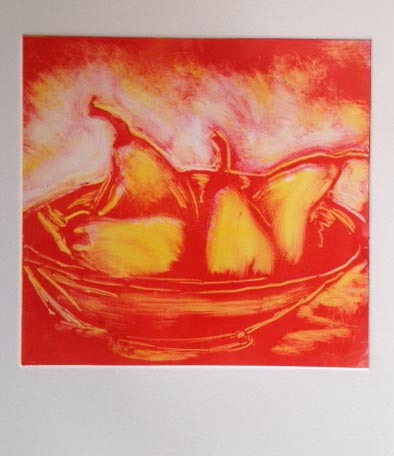
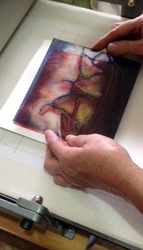
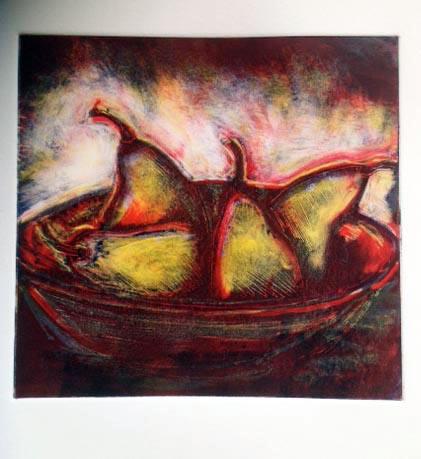
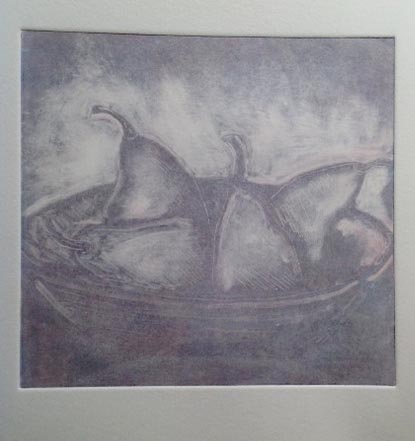
I have been preparing material for a weekend workshop at Maldon, which begins on Saturday 22nd and goes until 24th March. This Collagraph is one of the samples I will have at the workshop. The plate is made of natural grass, ripped card, wall papers and textured papers. The plate was sealed with a liquid Shellac mixture and when dried, the plate was inked up with water based AKUA intaglio inks on dampened Fabriano Rosapina printing paper and printed through the printing press. I hope to feature in my next Blog entry, the prints produced & the printmakers themselves at work during this workshop. 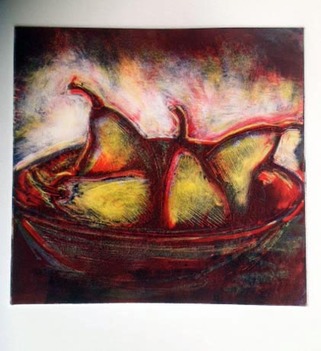 Final preparations are being made for the Maldon 3 day Printmaking Workshop on "The Introduction to Monotype/Mono print, Dry point & Collagraph" on the 22nd - 24th March 2014. Day one - Introduction to Collagraph & creation of a small Collagraph plate. Day two - Introduction to Drypoint and the production of a small Drypoint plate and introduction to Monotypes/Mono prints and how they can be combined with Drypoint. Day three - A frenzied printing day printing pre-prepared Collagraph plate, Drypoint plate and Monotype plates. This Monotype process is described below. Akua Intaglio Inks were used on Fabriano Rosapina paper.
|










 RSS Feed